The first difficulty I ran across was that I was extremely
limited in my options for paper and stamps. My challenge was to use only current Stampin’
Up! items. At the time of sign up for
the swap, I had assumed that come June 1st I would be able order new
holiday stamps and paper. Alas, Stampin’ Up! has changed its catalog layout! There will be a separate holiday catalog that will not be released until August. I could only use materials
from last year's catalog that had carried over to the new catalog. That turned out to be
little to nothing. The thought did cross my mind to just drop out of the
holiday challenges. Particularly since this was my first swap with other
demonstrators, and I did not want to submit cards that I felt were not "top" quality. I was unsure that I could create cards that would meet my
expectations. While searching through my stamps I came across the cat, but it
had a birthday greeting underneath it. By only stamping the cat part of the stamp
with a marker, I had solved my dilemma. The silly demeanor of the cat ensured that it would be a happy Happy Halloween card versus a scary one. The Happy Halloween stamp was the only stamp I had that met the guidelines. My card was designed by the (few) ingredients that I had on hand!
The second issue occurred after I had completed and designed
my Halloween card. I glued the first layer down to the all the other cards
without placing my ribbon on. YIKES! Now what to do? A huge belief amongst
crafters is – there are NO mistakes only opportunities to embellish - fondly referred to as happy accidents! I
panicked at first, but then decided upon laying the ribbon under the cat stamp
at an angle. Placing the pearl at the end of it gave it a polished finishing
touch. The card I had originally
completed had the ribbon horizontal across the first layer and placed
underneath the cat. In the end I was happier with the end result rather then
the intended layout.
Moral of my story is that something can be made from next to
nothing, and if you mess it up there is a good chance that it can be fixed!
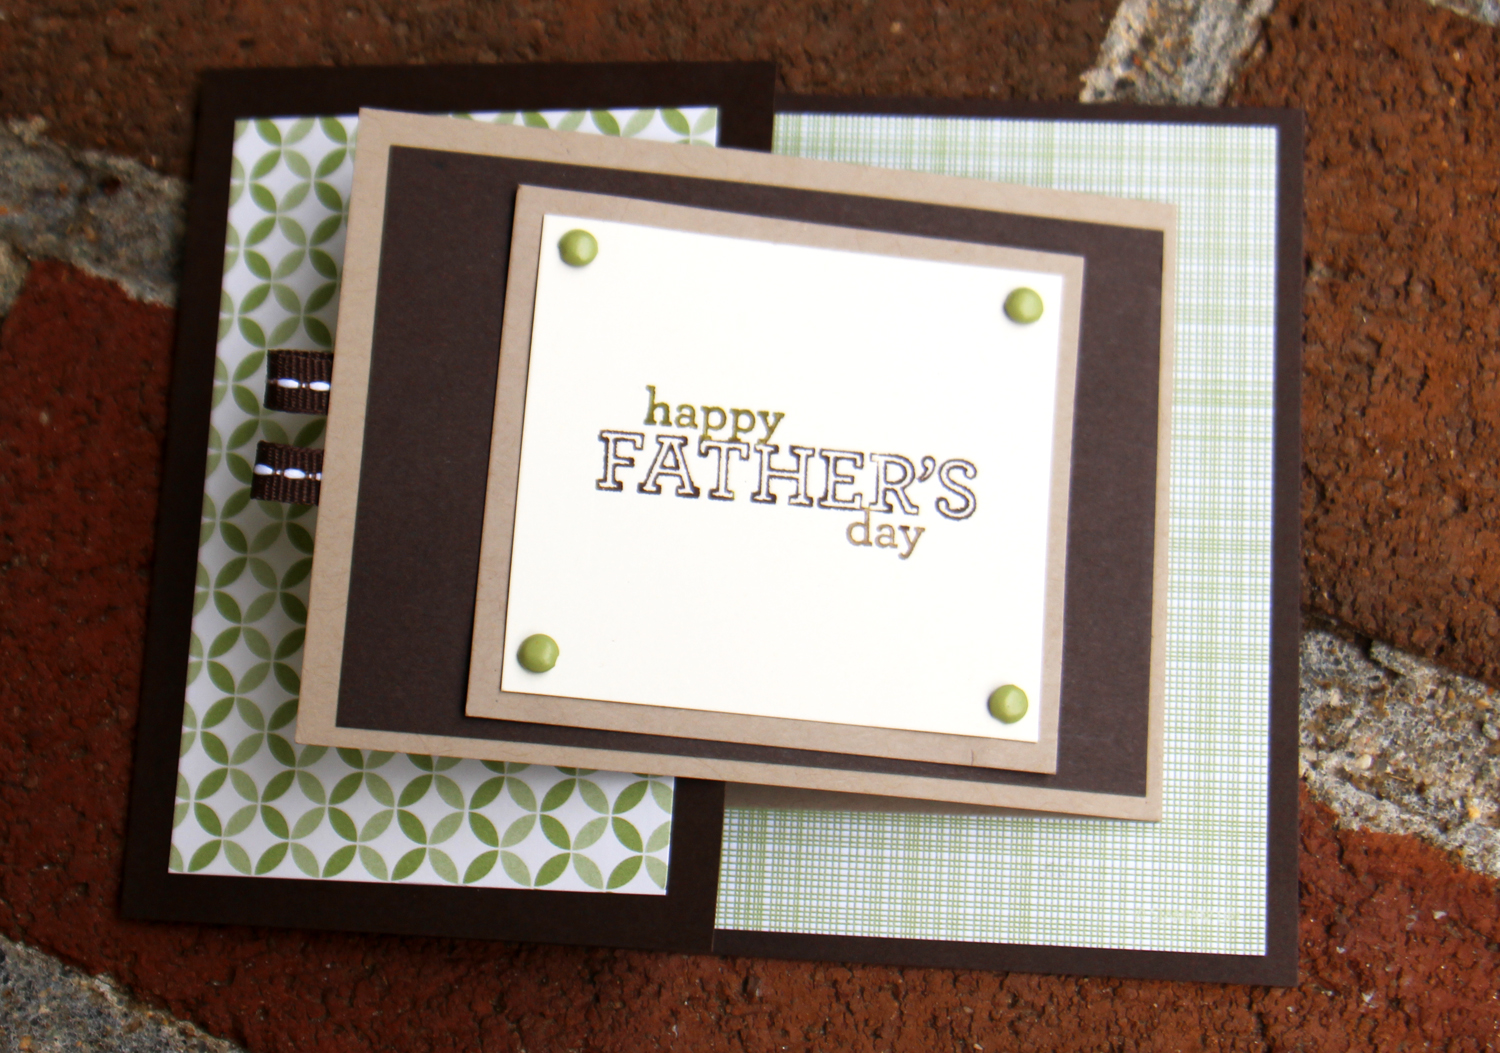
The base of the card is an 8 ½” x 11” piece of Basic Black
cardstock cut in half then scored at 4 ¼” for a size A2 card. The next layer is
a 5”x 4” piece of Pumpkin Pie card stock, which I rounded the corners. I
colored only the cat part of the stamp with a basic black marker. I then
punched it out with the scallop punch and sponged the edges with Pumpkin Pie
for depth. The cat stamped scallop was placed on the 3” black card stock circle and placed
atop the ribbon was adhered first (don’t make the same mistake I did – haha). I
cut the ends of the ribbon to give it some flair and added a pearl. The final
touch was the message stamped with Versamark and embossed in black.
Product Information + Order Numbers :
Stamp Set(s): Seasonal Sayings (Wood-mount 131937,
Clear-mount 128009) Giggle Greetings (Wood-mount 131062, Clear-mount 131065)
Paper: Basic Black (121045) Pumpkin Pie (105117) Whisper
White (100730)
Ink: Pumpkin Pie (126945) Basic Black marker (100082)
Cool Tools: Heat Tool (129053) 2 3/8” Scallop Circle
(118874) 3/16” Corner Punch (119871) Big Shot (113439) 3” Circle Originals
(122125)
Perfect Touch: Versamark (102283) Black Embossing Powder
(109133) Pearl Basic Jewels (119247) 3/8” Taffeta Ribbon (109070)